Product Information Manager : Product Editor
Access
Product Editor is accessible by clicking the
 button
for the particular product on the
Search Product page or after saving a newly created product.
button
for the particular product on the
Search Product page or after saving a newly created product.
For more info on Product Editor tabs refer to:
- Master Data
- Variants
- Classifications
- Attributes
- Compatibilities
- Documents
- Prices
- Assortments
- Relations
Contents
Overview
Here the actual content management, where products are created or furnished with additional information, is carried out; e.g. relations between products are defined and attribute values are stored with products, also documents are assigned to products.
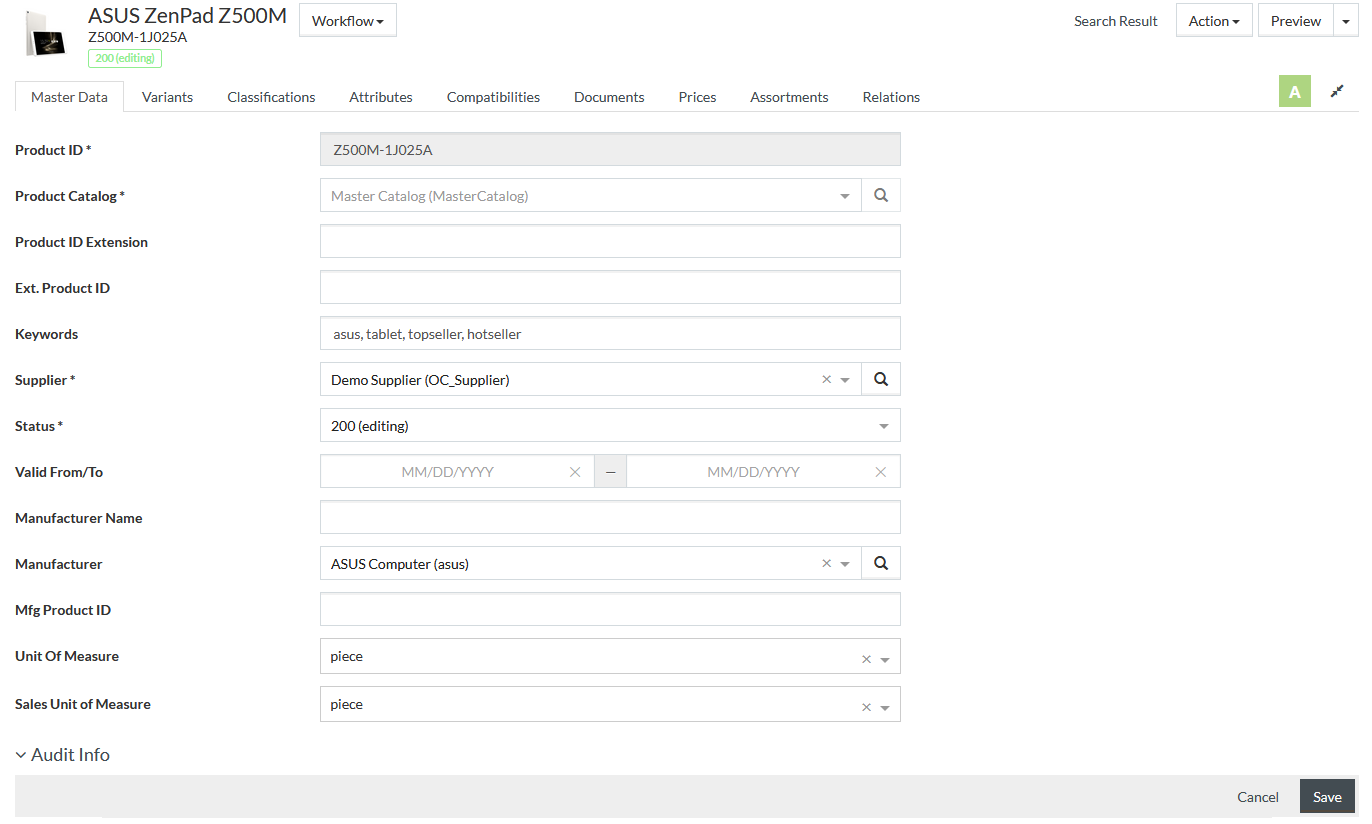
The header section of the Product Editor lists the Product ID, Product Name (short description) in the Content Language and the product status, and shows the product preview image, when available.
Product Editor Tabs
The following tabs are available in the Product Editor:
- Master Data
- Variants
- Classifications
- Attributes
- Compatibilities
- Documents
- Prices
- Assortments
- Relations
Common Toolbar
The common toolbar is available on each tab of the Product Editor, it consists of the following sections:
Workflow
Select the appropriate action from the
 drop-down list to redefine the workflow state of the given product. The product status will change according to the selected action:
| Action | Status |
|---|---|
| disable | 700 disabled |
| delete | 800 deleted |
| reactivate / approve | 300 approval required |
| reject | 080 error |
| confirm | 400 confirmed |
| start editing |
200 editing |
|
Actions from the Workflow may require certain validation (for example, particular fields should be completed). The validation can be configured via ProductWorkflowValidation.groovy script located in the Customization Area folder: \integration\stateWorkflow. When the validation is failed, an error message with the reason appears. |
To view all products with the defined status, use the advanced search or open PIM Cockpit widgets and click the appropriate link for statuses. You will be redirected to the Product Search page containing products with the selected status.
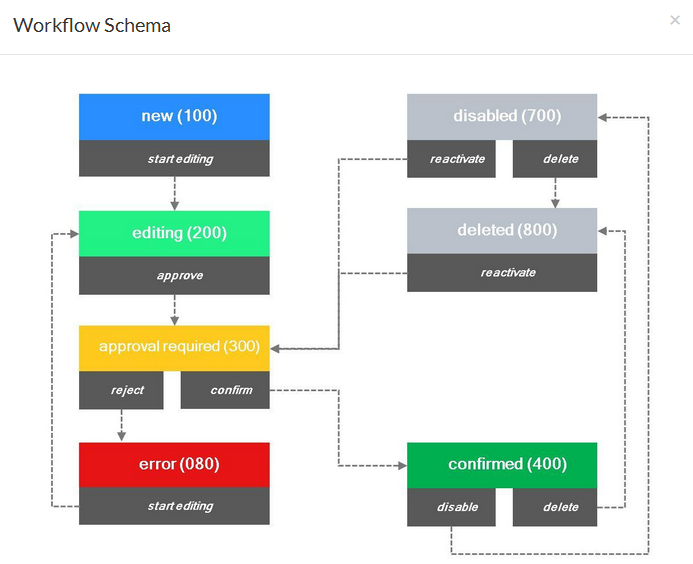
Click
Show Workflow option of the
drop-down list to open a Workflow Schema and see the workflow steps.
Search Result
Click the Search Result link to go back to the Search Product page in its latest state.
Action
Select the appropriate option from the
 drop-down list to execute the following actions:
Show Versions
Click the Show Versions option to view and compare Product Versions.
|
Show Versions option is unavailable in case product versioning is disabled (the configuration attribute is set to 'false'). |

To compare product versions, select the required entries using appropriate check boxes and click
 . See
more details on the
Compare Products and Product Versions page.
. See
more details on the
Compare Products and Product Versions page.
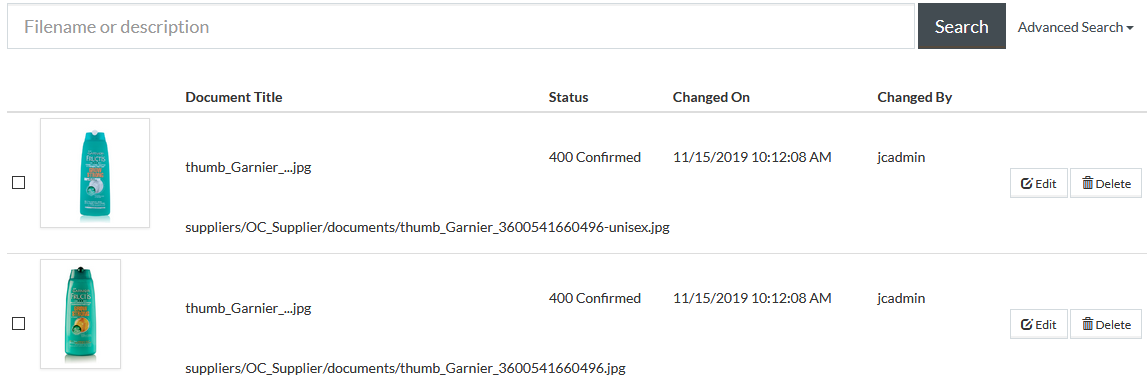
Show Assets
Click the Show Assets option to view the documents related to the selected products on the opened DAM Documents Search page.
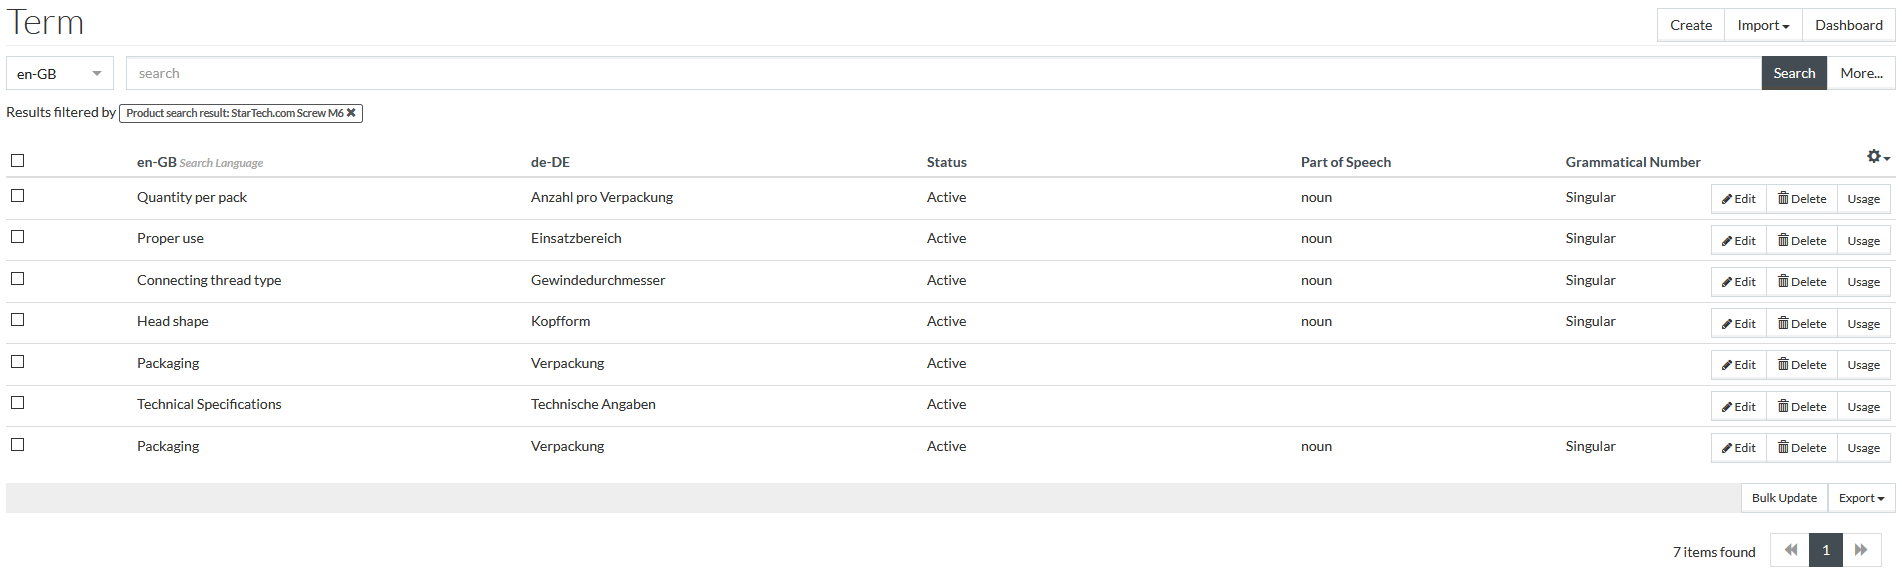
Show Terms
Click the Show Terms option to find all terms used in the selected product. You will be redirected to the Terms Search page with terms filtered by the usage in the selected product.
The default Show Terms functionality can show all terms used in:
- Product (product attribute values, document captions and relations Udx Text fields from the Product Editor)
- Documents (document titles and document captions from DAM)
- Value list items (value list items descriptions)
- Classifications (classification short descriptions)
- Classification groups (classification group descriptions)
- Classification group attribute values (it includes value list items descriptions if values lists are used as classification group attribute values)
- Attributes (descriptions)
- Attribute sections (names)
| The places, where the terms are searched, can be configured in jcatalog.product.showTerms.lookup.list configuration attribute. |
| In addition to the above, if any terms are listed in jcatalog.product.showTerms.static.list configuration attribute, they are also included into the terms result list for any product. |
|
Currently, Show Terms functionality does not include terms used in Compatibilities (compatible classification group attribute values/model properties and compatibility constraints). |
Delete Product
Click the Delete Product option to delete the current product.
Duplicate Product
Click the Duplicate Product option to clone the current product.
See details on the Duplicate Product page.
Preview
Click
 to open the
Product Preview page for
the
selected product. See the
Preview page for more info.
to open the
Product Preview page for
the
selected product. See the
Preview page for more info.
Export
Click the
 icon on
the right of the
button and select the desired export format. You will be redirected to
Export Products and Prices, where it is possible to execute the export product job.
icon on
the right of the
button and select the desired export format. You will be redirected to
Export Products and Prices, where it is possible to execute the export product job.
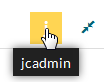
Editor Info
A colored letter symbol/symbols in the right corner of the screen shows/show the current user/users who work in the Product Editor. Pointing the relevant symbol shows the user name.
Column Settings
The grid on each tab (except for the Master Data tab) can be customized using
 icon in the upper-right corner and saved.
|
The position and display (show or hide) of any column can be customized, except for the Actions column, which cannot be hidden or change its position (always last). |
Clicking the icon, opens a drop-down list of grid columns. Below is the example of available columns for the Attributes tab.
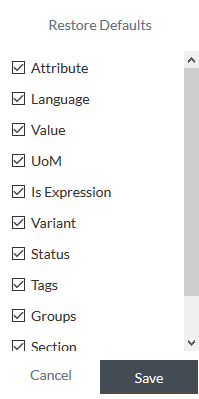
Select/clear the appropriate check boxes to show/hide the columns accordingly. Use drag-and-drop function to sort the columns in any order you like. To restore the default grid settings, click the
 link.
link.
Click
 to save
changes or
to save
changes or
 to discard them.
In the grid, if you have the appropriate settings for the column, you can:
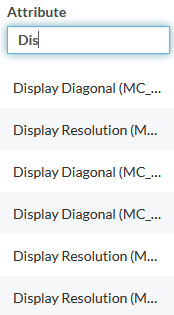
- Filter values: set the filter expression in the filter box beneath the corresponding header.
- Sort values: click the column header to sort the values in ascending or descending order.
- Resize column: place the mouse on the boundary between two column headings until you see an arrow. Click the mouse and drag the section border until you get the required size.
|
The Product Editor grids can also be customized and saved using relevant user-specific Configuration Attributes. For example, configuration attribute defines the settings for the Attributes tab, etc. |
Maximize/Minimize
Click the
 icon
to minimize the Product Editor grid and
icon
to minimize the Product Editor grid and
 to
maximize it.
to
maximize it.
Concurrent Editing of Product Information
In the Product Editor, you are able to see if someone else is editing or viewing the product information. See Editor Info section for details.
In case of concurrent editing of product information and trying to save changes after the product has been edited by someone else, you may be informed about concurrent changes and asked to confirm the overwriting of product information.
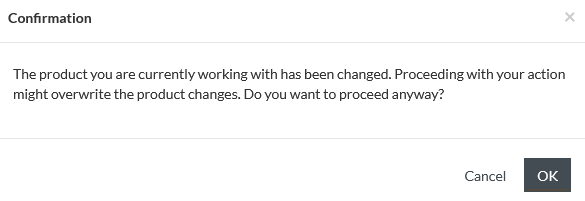
Confirming the overwriting does not mean actual overwriting of all product information. For example, when you are editing attribute values on Attributes tab while other user is adding Master Data, you will not overwrite the Master Data.
The actual overwriting may happen only when you are editing product information on the same Product Editor tab.