Product Information Manager : Create Product Form
Access
If there are any forms available for quick product creation, select the form:
- From the Products main drop-down menu
- From Quick Product Creation widget in PIM Cockpit, when available.
Contents
Overview
It is possible to configure quick product creation forms for faster and easier creation of new products.
|
A path to the quick product creation service is defined at installation in Configuration Attribute. |
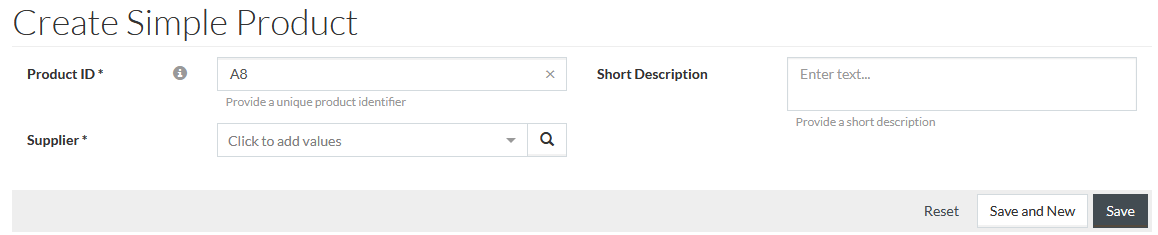
Unlike New Product functionality, which allows providing the most comprehensive product information through the Product Editor, the Create Product Form allows creating products with a minimal set of fields, configured according to the customer's needs.
Setup
|
Refer to PIM technical documentation for full info on forms creation and management. |
To create a quick product creation form as displayed above:
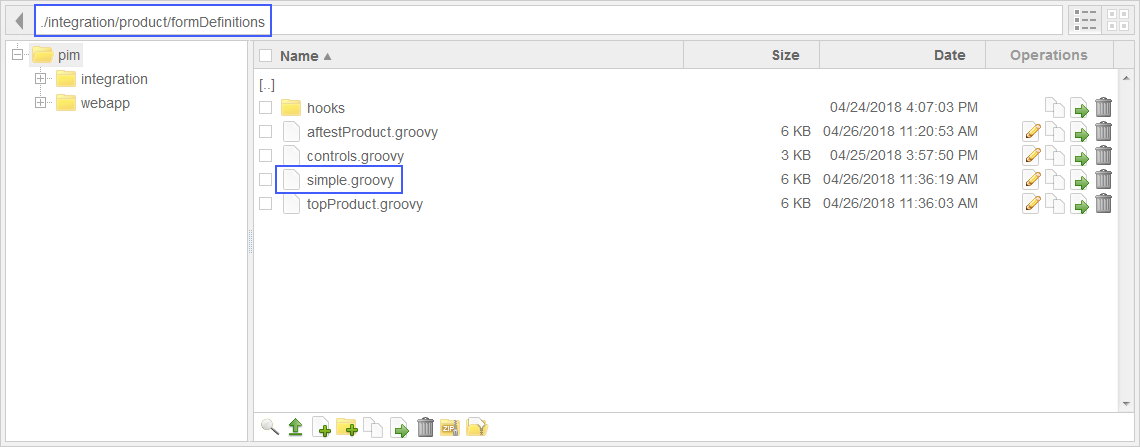
- Create a form definition
.groovy file and place it in
/integration/product/formDefinitions folder in the
Customization Area.
- Define the following in the
.groovy file:
- The name of the form (used in the name of the groovy-file). In the example above: ' simple'.
- A property to enable/disable the form in the application.
- The order number, which determines the order for the form to be displayed on the main menu compared to other available forms, if any.
- The fields used in the form. The fields can:
- Have default values (pre-filled in UI)
- Be marked as required
- Have minimum and maximum size limits
- Have validations. For example, the field should contain a certain value, otherwise the saving of the newly created product will not be possible.
-
- The UI layout configurations for the fields
-
- Pre-processing and post-processing actions (hooks) for the newly created product. For example, the input field value from the form is processed into a product attribute value in product information.
|
The pre-processing and post-processing actions for the newly created product can be included as:
|
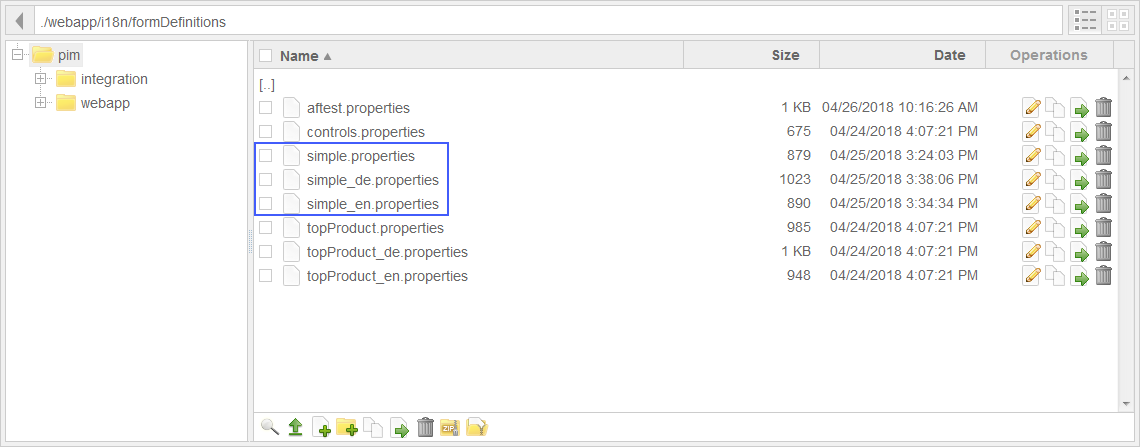
3. Create the relevant .properties files for the translations used in the form and put them to /webapp/i18n/formDefinitions folder in the Customization Area. The file name should include the exact name of the form and the locale, if applicable. In case of simple.groovy form, there should be the following files for English and German locales:
|
It may be necessary to reload translations on Manage Translations page, for the newly added translations to be applied for the form. |