How to setup a Supplier
Supplier
In the MCP workflow, the supplier's email address is crucial for sending email notifications to the correct email address. This is part of the supplier's default address.
Create Address for Supplier
Go to Settings / Addresses and click on the button 'Create' to create an address.
To create the address, an address ID is required. This ID can be freely chosen.
An essential required field for the MCP workflow is the email address, which must be entered into the 'Email' field.
You may optionally enter additional address fields, such as street, city, etc., for informational purposes.
Clock on 'Save' to save the address.
Create a Supplier Company
Go to Settings / Companies
To create a company, click on the button 'Create'.
General
Enter a Company ID, this ID can be freely chosen and mark the checkbox 'Is Supplier'.
It is recommended to also populate the 'Name' field by entering the supplier's company name. The 'Company ID' and 'Name' fields are the primary fields used in searches and filters when searching for a supplier.
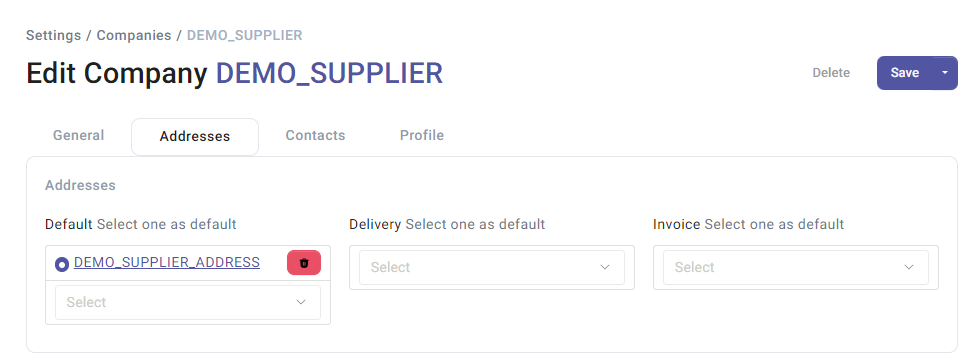
Addresses
Multiple addresses can be created and managed for a company. For MCP, the default address is the one used in the workflow.
Go to the Detault section and select the supplier address which should be used for the workflow in MCP. Mark this address as 'Default' address by clicking in the bullet (as in the example below). All other addresses, like Delivery or Invoice Addresses are not relevant for MCP.
Contacts
Contacts for a supplier can be optionally maintained for informational purposes.
Once all the required fields are filled in, click on 'Save' to store the data. The supplier company has now been created and can be utilized for the MCP workflow.